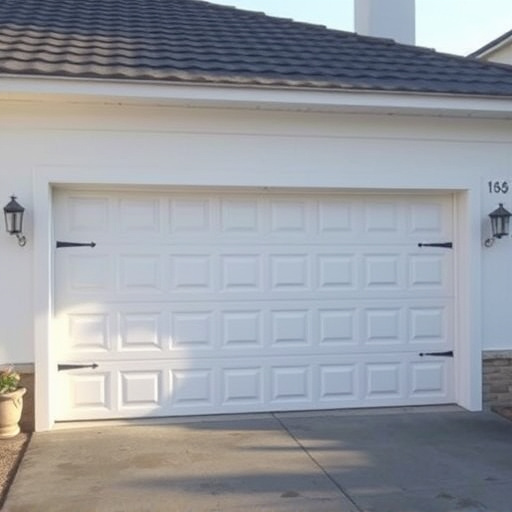
Garage door openers often face noise issues due to misaligned tracks, loose parts, or worn-out chain drives. Regular maintenance, especially chain drive adjustments and lubrication, is key to preventing these problems. By tuning chain tension and alignment, professionals reduce grinding noises and prolong equipment life. This DIY guide emphasizes the safety steps of disconnecting power sources and using a voltage tester, then walks through adjusting tension and reassembling for smooth, quiet garage door operation. Mastering these adjustments is an effective Garage Door Repair solution.
Tired of your garage door opener’s annoying grinding noises? It might be time for a chain drive adjustment. This simple yet effective solution can silence those pesky sounds and extend the life of your garage door system.
This article guides you through the process, offering insights into common garage door issues and the critical role chain drive adjustments play in noise reduction. Learn how to perform these adjustments step-by-step for a smoother, quieter garage door experience—a crucial aspect of efficient garage door repair.
- Understanding Garage Door Openers and Common Issues
- The Role of Chain Drive Adjustments in Noise Reduction
- Step-by-Step Guide to Performing Chain Drive Adjustments
Understanding Garage Door Openers and Common Issues

Garage door openers are an essential component of modern homes, providing convenient access to your vehicle and securing your garage space. However, like any mechanical device, they can encounter issues over time, leading to various problems for homeowners. One of the most common complaints is excessive noise during operation, often described as grinding or squealing sounds. This issue typically arises from misaligned tracks, loose components, or worn-out parts, particularly the chain drive.
Chain drive adjustments are a crucial aspect of garage door repair, addressing these noises effectively. The chain drive is responsible for transmitting power from the motor to the door, and any irregularities can cause friction and noise. Regular maintenance, including lubrication and adjustment, ensures smooth operation and prevents further damage. By addressing common issues promptly, homeowners can avoid more significant repairs and maintain a quiet, efficient garage door system.
The Role of Chain Drive Adjustments in Noise Reduction
In the realm of garage door maintenance, chain drive adjustments play a pivotal role in noise reduction. By meticulously fine-tuning the tension and alignment of the chain, Garage Door Repair professionals can significantly minimize the grinding noises often associated with opener operation. This subtle yet crucial adjustment ensures smooth and silent performance, enhancing both the functionality and comfort of your garage door system.
When left unchecked, loose or misaligned chains can lead to excessive friction, resulting in loud grinding sounds. Skilled technicians address these issues by carefully calibrating the drive chain’s movement, eliminating any disparities that might cause unwanted noise. Such adjustments not only restore silence to your garage but also contribute to longer-lasting equipment life, as reduced stress on components translates into diminished wear and tear over time.
Step-by-Step Guide to Performing Chain Drive Adjustments
Performing chain drive adjustments is a crucial aspect of maintaining a smooth-operating garage door, effectively eliminating grating noises. Here’s a step-by-step guide to help with your DIY garage door repair:
1. Safety First: Ensure the garage door is fully closed and all power sources are disconnected. This is essential for your safety while working on the mechanism. Use a voltage tester to verify power outage.
2. Locate the Chain Drive: Find the chain drive, typically located near the top of the garage door. It’s where the motor connects to the door through a series of chains and sprockets.
3. Identify Adjustments: Locate the adjustment screws on either side of the chain drive. These allow you to tweak the tension, ensuring the chain runs smoothly over the sprockets.
4. Loosen the Bolts: With a suitable tool (often an adjustable wrench or socket), gently loosen the bolts securing the chain to the sprockets. Be careful not to remove them completely.
5. Adjust the Chain: Working carefully, adjust the tension of the chain by turning the adjustment screws. Loosen if the chain is too tight, tighten if it’s too loose, aiming for a secure yet flexible fit.
6. Reassemble and Test: Once satisfied with adjustments, reassemble the bolts and test the door’s operation. Open and close it several times to ensure smooth running and silence any grinding noises.
By understanding the inner workings of garage door openers and addressing common issues like grinding noises, homeowners can significantly enhance their property’s security and comfort. Chain drive adjustments prove to be an effective solution for reducing these unwanted sounds, ensuring a smooth and quiet operation. With the right tools and a simple step-by-step guide, performing these adjustments is a feasible DIY task for any garage door repair enthusiast.